Showing posts with label gallery. Show all posts

Feb 16, 2019

Tibetan Temple #2

From The Once and Future King by TH White:

“It is God who keeps the price secret, Uther. Not I.”

“God? God? What god? I have heard you speak of so many gods. If you mean Mithras...”

Says Merlin, “Mithras. Apollo. Arthur. Christ. Call him what you will. What does it matter what men call the light? It is the same light, and men must live by it or die. I only know that God is the source of all the light which has lit the world and that his purpose runs through the world and passes each one of us like a great river and we cannot check or turn it but can only drink from it while living and commit our bodies to it when we die.”

God is in the details. Of everything. And the Light.

The Shrines to the Divine project began in early 2018. I have cataloged here in the blog the process of the first little tea house and the final Japanese Shrine, the Zendo, both built in 2018.

Along the way of my life, I have had the privilege to study with, cook for and generally be around some lovely teachers, in the name of art, or food, or spiritual advice. I have sat at the feet of gurus, pranced around the fire as a deer with a Huichol shaman on Mt. Shasta, meditated on Paramahansa Yogananda's houseboat with Steven Seagal, studied with and fed Deepak Chopra and myriad other pop culture stars, looked at Tibetan Buddhism through the eyes of the Thangka painting monk, and cooked for large groups at a retreat center while spending my nights in a 400 square foot tipi. Alison Stillwell Cameron lived next door to my mother and sparked my interest in Chinese Sumi painting, my bookbinding instructors shared Japanese print making, Shibori fabric design, marbled papers and so much more.

I feel closest to the source of all the light when I am being creative.

The top image above floated across my Facebook timeline, posted by a friend. It is an art deco painting by Vittorio Zecchin who died in 1947. Look him up. He blows my mind. The Dominican nuns never showed us his paintings in Art Appreciation class.

When I saw this painting, not just the goddesses themselves but the intensity of the colors hit me like a whack in the chest. The moment pushed me into the long talked about Tibetan temple, because I had to get involved with those colors.

As a dedicated DIY nut job, I set out to make some fabric for the backdrop to the buddha's throne. Although I used red and gold on black in my first draft of the fabric pattern, the colors of the shrine with mimic those above in Zecchin's: orange and purple and violet ...with some red.


I took a photo of the finished 12 x 12 canvas and shrunk the design to the size of a postage stamp, repeated the pattern to fill an 8.5x11 sheet of paper-backed silk for printing, and voila!


A tiny silk curtain of my own design.


Oct 22, 2018

Wrist Warmers

I am never without a knitting project. I use short, bamboo needles that fit in my purse. I can knit during a meeting, at the coffee house, even at dinner, if it looks like a long evening. I knit in the car, if I don't have to drive.

This time of year I get requests for the wrist warmers pattern, a good pocket or purse project. It's really simple, even fore a beginner. My basic pattern is like this: knit a 6.5 inch square in the pattern of your choice, fold it over, sew up the sides, leaving at 1 1/2 inches open for your thumb, beginning about an inch from the top.

If you use a worsted weight yarn, use size 7 needles and start with 42 stitches. Fingering weight yarn is best on size 5 needles, and for these Rusty Garden Ornament items on the right I cast on 38 stitches.

These sizes are based on a Woman's Medium. You make them wider by casting on more stitches and longer by knitting more rows. 

 You can get fancy with patterns and stitches: dots, hearts, cables... The green warmers above are created with the seed stitch, which is all knit, purl, knit, purl: knitting into the purls and purl into the knits.

I started with ribbing on the red and black item on the needles below and increased one stitch at each end before I started with the Midnight Black for a total of 36 stitches. The ribbing adds a nice touch and creates more of a cuff for the wrist.

One of the joys of these little gift items is how little time they take to make, unless you decide to create a Santa Face or get tricky with other colorways. I like to keep it simple so I can knit and watch a movie, talk with friends, listen to an audio book, but not all at once.


Jun 30, 2018


 This dragon went through three Southern Oregon winters and was chipped and peeling flakes of red paint all over the walkway. I was so anxious to paint it with my new find, Unicorn Spit, that I forgot to take a before photo. But here he is in all his glory.

I highly recommend Unicorn Spit. It's non-toxic, can be opaque or transparent and has intense colors. Everything is getting painted with Unicorn Spit.


Jun 29, 2018

Tiny Weaving

 After trying to make my own tiny loom out of square embroidery hoops, foam core and cardboard, I ordered this fabulous little lightweight loom from Wool in the UK. Note the giant, flat-sided needle for weaving. This is a little miracle, this loom.

The first project is a rug for tiny shrine #2, The Shaman's Tipi. Here is the parts list again, since this project is stepping into the studio limelight after completing the Zendo.

cover
liner
threading pins
arrows
stack of wood
fire pit
rug - woven or felt
bed - fur (fake)
beaded bag
talking stick
pillows
blanket (woven or knitted)
back rests
walking stick
baskets
clay bowls
pots/hanging kettle
rattle
drum
pipe
smudge fan
sage wand
canoe


Jun 27, 2018

Making an Afghan, #2

 The next color. I pulled out 20 rows of this color after seeing a dropped stitch on the edge.

I keep repeating my Hobby Mantra, "No Hurry."

Note the two boxes of tools and parts for needle work. The peackock box is filled with threads for tiny weaving and the long art box has knitting needles and other knitter's paraphernalia.


Have you read back through this blog? If you, you've seen my Studio in a Basket posts. Studio in a Basket (in my living room) was a joke on me. I filled up that basket with yarn and projects in a few days. Now it's a studio in a basket and a big Laurel Birch bag and two boxes. Not to mention the tiny shrine series, filling up space in the real studio.

How do I have time for this and writing and editing and building shrines? What else should I be doing?


Jun 22, 2018

Printable Fabric


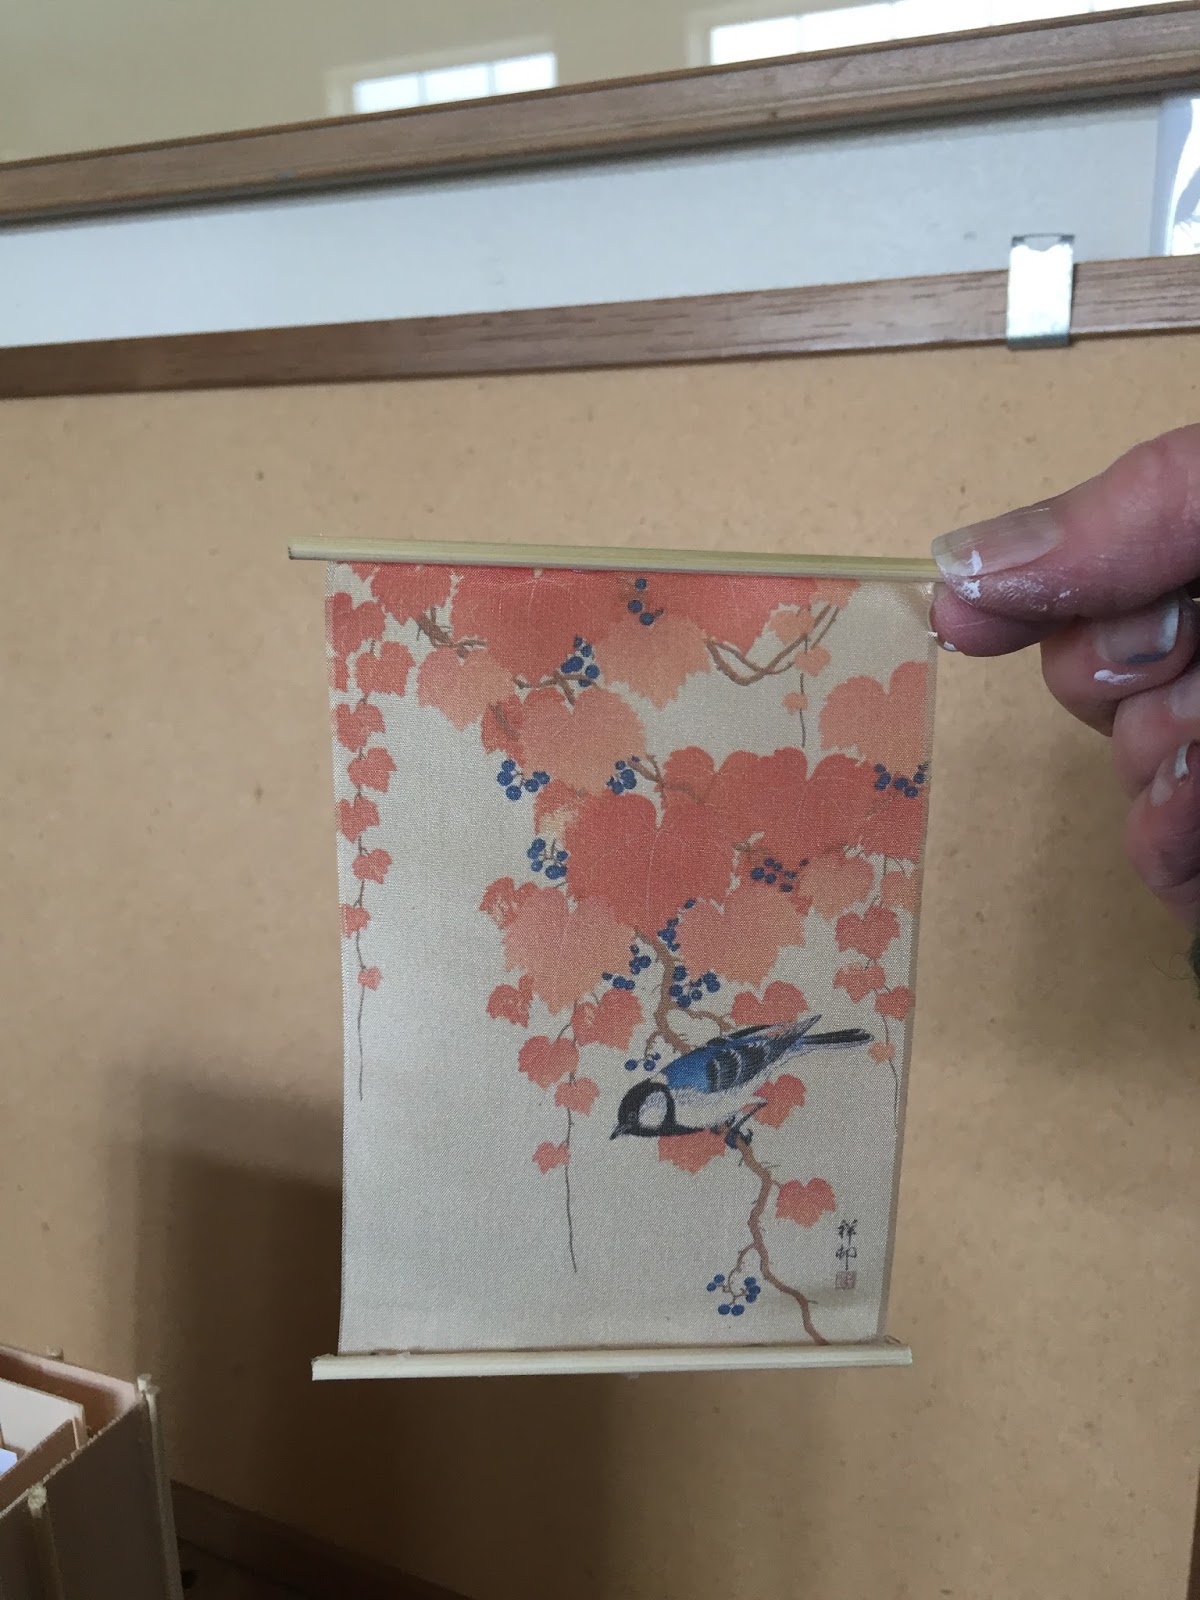
 Leftover from another project, I have packets of 8.5x11 sheets of printable fabric from Dharma Trading Co. in San Rafael, California: several grades of cotton, muslin and silk. These banners were printed on Haboti silk for tiny scrolls.


I am already imagining the tiny prayer flags fluttering on the Tibetan Buddhist Shrine.


Jun 4, 2018

The First Shrine #3


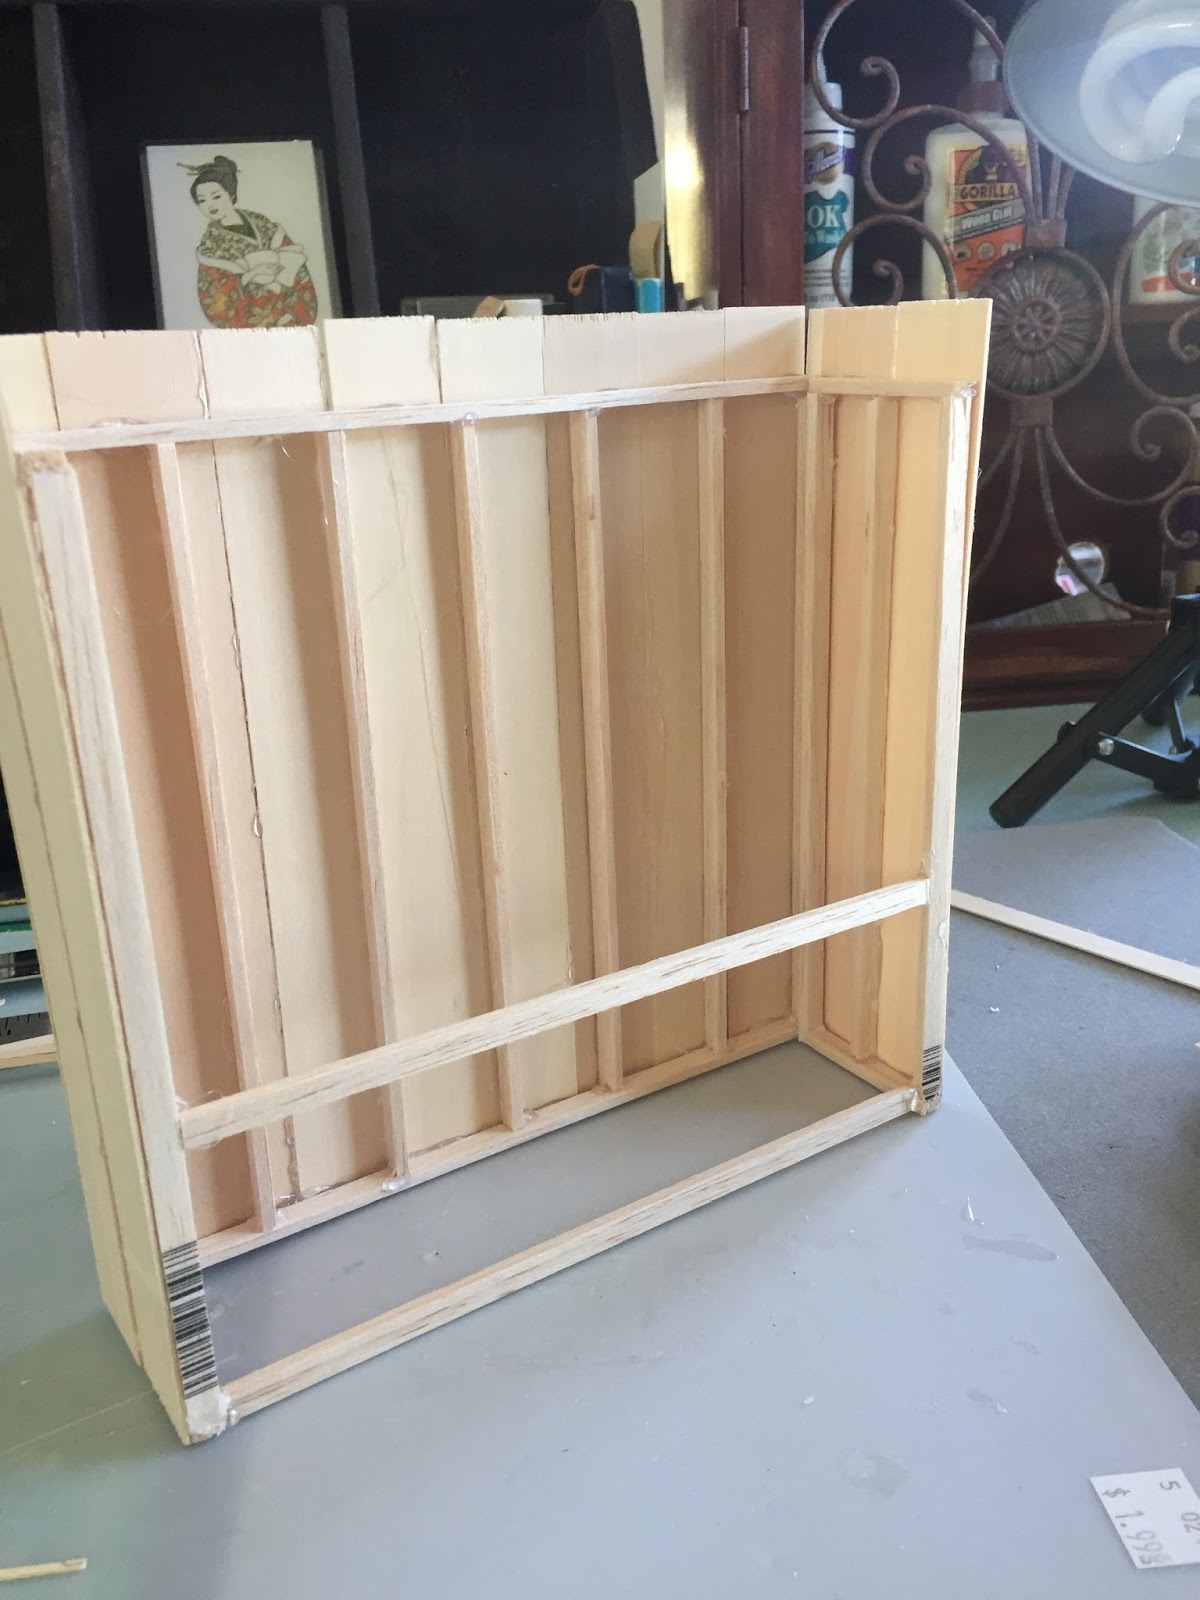
 In this first picture, I have just added the trim board that will hold up the altar shelf surface. I used craft sticks for the shelf and trimmed everything in skewers, which can be used as tiny dowels. It is a very simple design, very Zen, I think.

Meanwhile, I made a series of little terra cotta platters and bowls for both this shrine and the Shaman's Tipi. The platters will be painted in the style of each culture. Notice the tiny lantern on the right.

Next will be the six little shoji screen walls that create the room around the altar.

May 29, 2018

The First Shrine #2

I am learning to think in layers of tiny lumber, like Basswood trimmed in skewers on the inside and outside of this shrine. The "studs" are Balsa wood, 1/16x1/4 inch.

When I first started the project, I slathered Elmer's glue on everything and waited for it to dry overnight before going on to the next step. Yawn.


I pondered why the videos and tutorials used Elmer's or wood glue and not hot glue which dries in a flash and reasoned that the hot glue was a bit uncontrollable for tiny gluing. But, this did not stop me.


I used my hot glue gun to put together this altar. What a difference. It went together in no time, is very sturdy, and allows me to keep going when I am on a tiny building roll and ready to finish the piece. It takes patience and finesse to keep from applying too much of a good thing but it is instant gratification.


Dec 21, 2017

Studio 12b - Horsie


My friend, Sampson, built this rocking horse on the left for Danielle when she was a baby. It had been repainted several times. It had some pretty straggley black yarn for a mane and Horsie had fierce un-horsie eyes.

Now grown up, with her own baby on the way, Danielle's family commissioned me to restore Horsie to its glory.

I gave Horsie new eyes, a mane of real horse hair, a lovely dappled paint job and tried to rename him Happy the Appy. I believe the family still calls him Horsie.

Renamed Happy the Appy

Dec 20, 2017

Studio #12a - The Cottage

The Asian Fusion Collection, installed at Valley Girls Gallery (now the Carmel Valley Art Association) in 2005, and the same little red table in our living room today, under a Melissa Lofton painting of Big Sur and holding stacks of knitted squares about to be sewn into a lap robe.