Showing posts with label miniature houses. Show all posts

Feb 25, 2019

Sculpting Polymer Buddhas #4

I am not well-set, nor do I have the bandwidth for, taking pictures of my hands while creating.

Following are all the photos of my Buddhas over the course of three days. All the facial features are exaggerated, not on purpose.


The top not and hair aren't right proportionately and you can see from this side view, he has a flat face.


This guy looks like a cross between a British peer (doesn't it resemble a powdered wig?) and Deepak Chopra. The bindi on his forehead helps the overall look.


Last night's sculpture looks like Yul Brynner as Mongkut, King of Siam. And my latest student still doesn't have much of a face, and without armature, she'll always have to be sitting down.


The week's work. Self-imposed Polymer Sculpture Class 101.

Feb 23, 2019

Sculpting Polymer Clay Buddhas #2


Just Buddha's Head.


In the interest of keeping my self-imposed sculpting lessons simple, I scrunched up a ball of foil and rolled out some clay to cover it for a head. (I learned the hard way not to bake any polymer clay thicker than about 1/4 inch; it takes forever, you're never quite sure if it's baked all the way through and it smells if it gets scorched.)

I stuck a quilter's straight pin into a cork for something to hold onto. I scrunched the foil head down over the pin with a dollop of hot glue. With a small ball of clay, I pressed out a disk to cover the foil and form a head, making it slightly oval in shape.


I marked the lines for eye, nose, lips and chin, and made about 24 little pieces for these additions.


Polymer clay is so forgiving. After its warmed up (conditioned) it stay supple for a long time an can be worked over and over again before it is baked.


These eye sockets turned out to be a bit much. The instructions called for little clay eyeballs, but I toned them down with Tibetan slits for eyes.

The facial features on my first Buddha turned out a little exaggerated; next time I'll make my tiny body part pieces tinier.

Not bad for a rank beginner.

Feb 19, 2019

Tibetan Temple #3

I rediscovered polymer clay after a 20 year hiatus. Back in the early 90s, I made beads and pins and jewelry items.

This time around, I had in mind the tiny lumberyard and all my little itty bitty constructions. For the Zendo, I formed a little platter, a bowl and a vase. In the midst of the experiments, I fell in love again with this versatile medium. There are a bunch of useless polymer items around my studio right now,  a giant red flower, some art deco pillars, on the way to making tiny creations for the Tibetan Temple:

Here is the tiny tile floor, made from a large sheet of polymer clay, conditioned and rolled out to accommodate my 7x7 inch plan. After baking, I cut out the corner tiles to make room for the 1x1 inch pillars.

The wood base for the temple is three sheets of basswood glued together and framed in around the tiles.

I was attracted to Buddhist teachings because of the three essentials: (a) ethical conduct, (b) mental discipline and (c) wisdom. Along the way, I learned about making malas (another post) and painting as a meditation.

While studying Thangka painting, mental discipline was necessary, as was patience with myself and for the slow emergence of anything resembling a Buddha.

This little tile floor will be painted blue, the base stained with red.

The miter box lessons from my son, Michael, come in handy with my tiny tools. I am pretty happy with my corners.

Tulku Jamyang and his wife, Chigme, invited me often to share their Tibetan dinners. It was all very mysterious to me, big bowls of chopped meat, tureens of thick soup, flat breads and sweet pastes and sticky rices. We ate heartily with fat spoons as well as our fingers and drank copious amounts of rich dark tea with coconut butter (no yaks for miles and miles).

When I work out my Tibetan Temple, I remember Tuklu Jamyang's teachings, and translate the sacred geometry into my constructions.

I have become more patient over the years through meditations of all kinds, other art forms, knitting, of course, but the memory of Mondays with Tulku Jamyang, his quiet teachings, his generous spirit, hover around me like a sprite.

As I teach myself to sculpt with polymer clay, I'll make a teacher, a student and a Buddha.


Feb 16, 2019

Tibetan Temple #2

From The Once and Future King by TH White:

“It is God who keeps the price secret, Uther. Not I.”

“God? God? What god? I have heard you speak of so many gods. If you mean Mithras...”

Says Merlin, “Mithras. Apollo. Arthur. Christ. Call him what you will. What does it matter what men call the light? It is the same light, and men must live by it or die. I only know that God is the source of all the light which has lit the world and that his purpose runs through the world and passes each one of us like a great river and we cannot check or turn it but can only drink from it while living and commit our bodies to it when we die.”

God is in the details. Of everything. And the Light.

The Shrines to the Divine project began in early 2018. I have cataloged here in the blog the process of the first little tea house and the final Japanese Shrine, the Zendo, both built in 2018.

Along the way of my life, I have had the privilege to study with, cook for and generally be around some lovely teachers, in the name of art, or food, or spiritual advice. I have sat at the feet of gurus, pranced around the fire as a deer with a Huichol shaman on Mt. Shasta, meditated on Paramahansa Yogananda's houseboat with Steven Seagal, studied with and fed Deepak Chopra and myriad other pop culture stars, looked at Tibetan Buddhism through the eyes of the Thangka painting monk, and cooked for large groups at a retreat center while spending my nights in a 400 square foot tipi. Alison Stillwell Cameron lived next door to my mother and sparked my interest in Chinese Sumi painting, my bookbinding instructors shared Japanese print making, Shibori fabric design, marbled papers and so much more.

I feel closest to the source of all the light when I am being creative.

The top image above floated across my Facebook timeline, posted by a friend. It is an art deco painting by Vittorio Zecchin who died in 1947. Look him up. He blows my mind. The Dominican nuns never showed us his paintings in Art Appreciation class.

When I saw this painting, not just the goddesses themselves but the intensity of the colors hit me like a whack in the chest. The moment pushed me into the long talked about Tibetan temple, because I had to get involved with those colors.

As a dedicated DIY nut job, I set out to make some fabric for the backdrop to the buddha's throne. Although I used red and gold on black in my first draft of the fabric pattern, the colors of the shrine with mimic those above in Zecchin's: orange and purple and violet ...with some red.


I took a photo of the finished 12 x 12 canvas and shrunk the design to the size of a postage stamp, repeated the pattern to fill an 8.5x11 sheet of paper-backed silk for printing, and voila!


A tiny silk curtain of my own design.


Jun 29, 2018

Tiny Weaving

 After trying to make my own tiny loom out of square embroidery hoops, foam core and cardboard, I ordered this fabulous little lightweight loom from Wool in the UK. Note the giant, flat-sided needle for weaving. This is a little miracle, this loom.

The first project is a rug for tiny shrine #2, The Shaman's Tipi. Here is the parts list again, since this project is stepping into the studio limelight after completing the Zendo.

cover
liner
threading pins
arrows
stack of wood
fire pit
rug - woven or felt
bed - fur (fake)
beaded bag
talking stick
pillows
blanket (woven or knitted)
back rests
walking stick
baskets
clay bowls
pots/hanging kettle
rattle
drum
pipe
smudge fan
sage wand
canoe


Jun 25, 2018

Jun 22, 2018

Printable Fabric


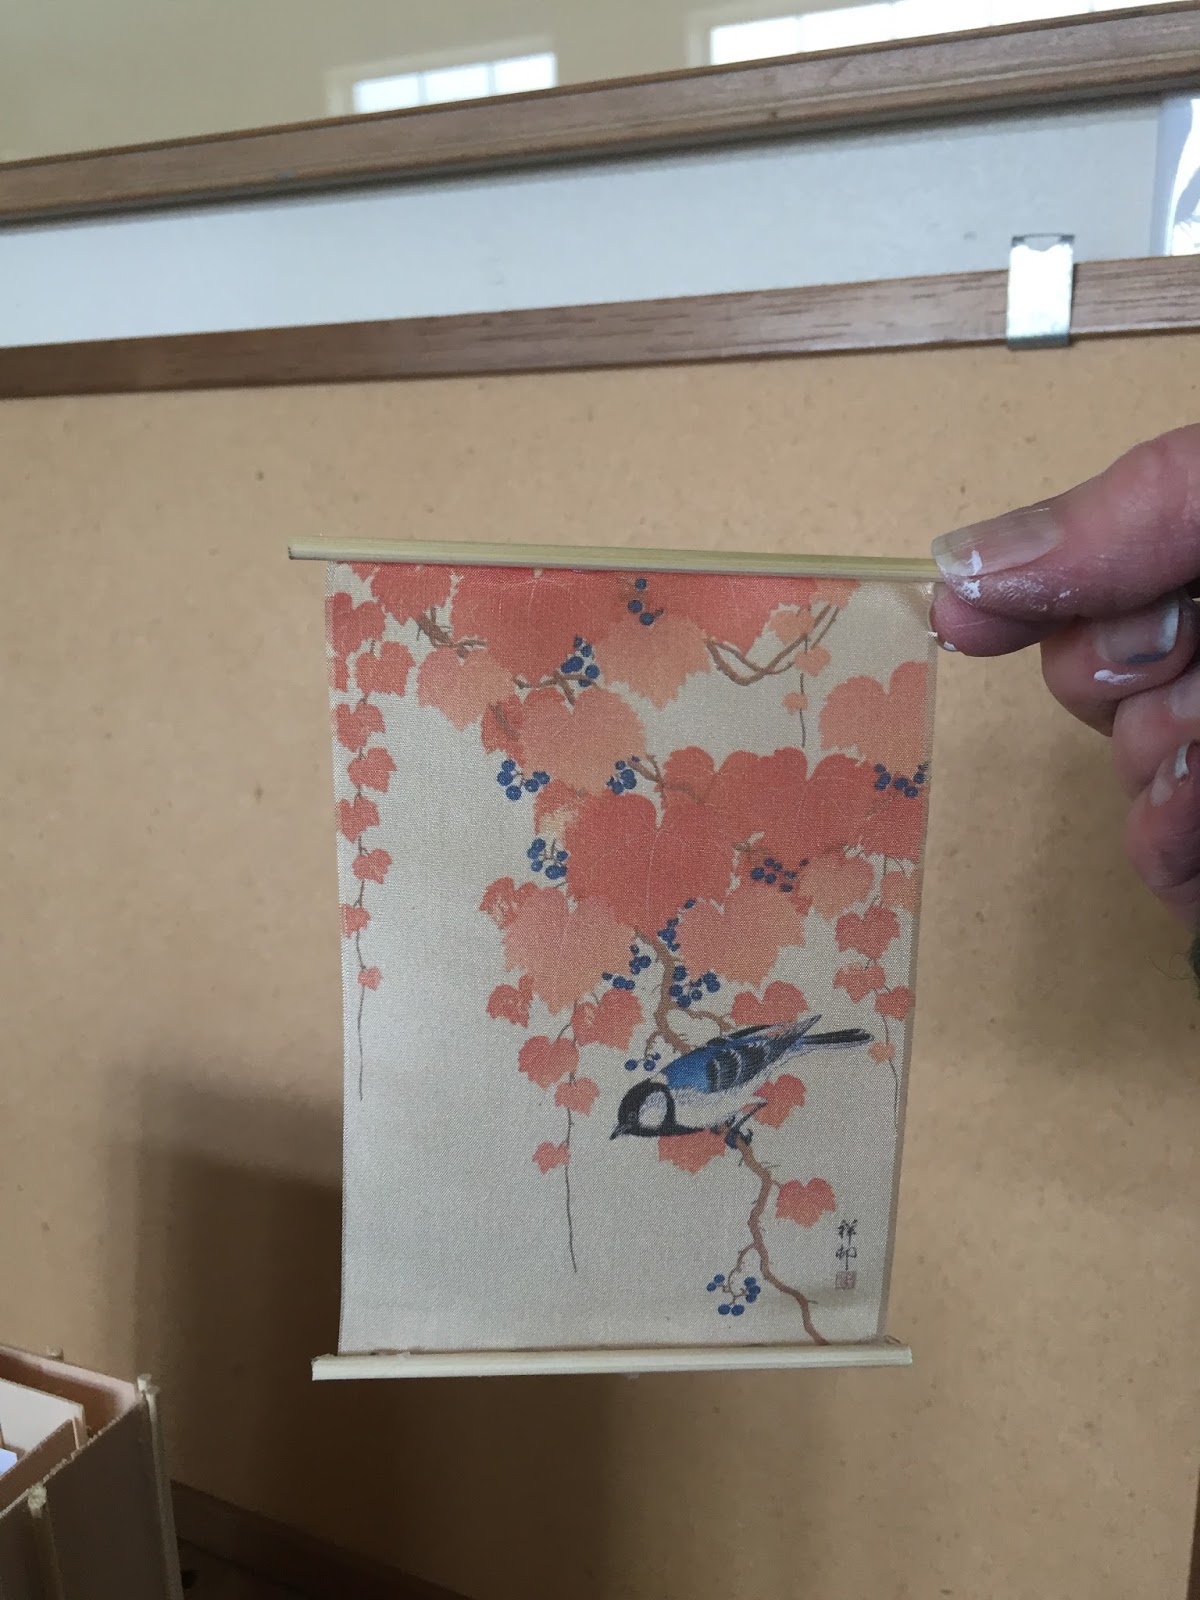
 Leftover from another project, I have packets of 8.5x11 sheets of printable fabric from Dharma Trading Co. in San Rafael, California: several grades of cotton, muslin and silk. These banners were printed on Haboti silk for tiny scrolls.


I am already imagining the tiny prayer flags fluttering on the Tibetan Buddhist Shrine.


Jun 18, 2018

The First Shrine #6

It's amazing, when those inspired moments happen and you just know you have the right tools, ingredients and materials for a particular project.

The first funky teahouse, built with single walls out of popcicle sticks and cut with scissors and an Xacto knife, looks exactly that funky. It's so funky, David made me take one of the pictures down.

Thanks to better tools (the tiny Xacto miter box and three tiny saws), better materials (tiny Basswood and Balsawood lumber), not to mention a higher skill level (the artist having discovered double wall construction in small scale building), my Zen Shrine has stability.

I discovered that tracing paper makes a good substitute for rice paper and I can print bamboo on it with my Canon printer. This was a magical moment - when I realized I did not have to dig out my Sumi-e painting tools and grind some ink in order to get the bamboo effect on those shoji screens. I also printed tiny silk banners on Dharma Trading Co.
printable, paper-backed Haboti silk. More about that in the next post.

There is a lot of trim still to do, a see-through roof (perhaps with a glass skylight for better interior viewing) and a little tiny paint job on that platter and the lantern.

Overall, I am happy with the tiny Zen Shrine, so far.


Jun 12, 2018

First Shrine #5

 I originally planned to have sliding shoji screen doors, like in the Japanese Teahouse, but decided to fix the walls and to keep the visibility to the inside open - once the roof goes on, the inside will be much leas visible.

In building this structure, I keep in mind Tassajara Zen Center, where I first studied Zen meditation in 1972 and bought one of the first spiritual books of my collection, Zen Mind, Beginner's Mind, by the founder of the Zen Center, Shunryu Suzuki, which I am reading again now.

At Tassajara, the rooms and meditation hall are simple, clean and free is distractions.


Jun 8, 2018

The First Shrine #4

 In building the first practice piece, when I copied the YouTube Video about how to build a Japanese Teahouse by AkameruKawaii, the first thing I learned was: I did not want to build my shrines out of popcicle sticks and coffee stirrers.

After a disastrous attempt at staining popcicle sticks with red ink, which warped the tiny "boards" and made my next little practice structure look more like an outhouse than a place of contemplation and solace, I watched a wonderful video of a contractor building a 1/12 scale model of his home. His model covered a 4x8 foot piece of plywood, very impressive. I built a practice piece using double wall construction.

The first real piece in the series, the Zen Shrine, is underway. Here are the shoji walls under construction. Instead of popcicle sticks and coffee stirrers, I have developed a tiny lumberyard. Here I have tiny boards, trim and bamboo skewers (which I thought were OK, considering this is a Japanese Shrine).
 
Instead of a backroom for a teahouse, I built a tiny altar. Now, the wall are going up, which will be lined in "rice paper" painted in a bamboo motif (actually tracing paper on which I printed a black bamboo image).


Jun 4, 2018

The First Shrine #3


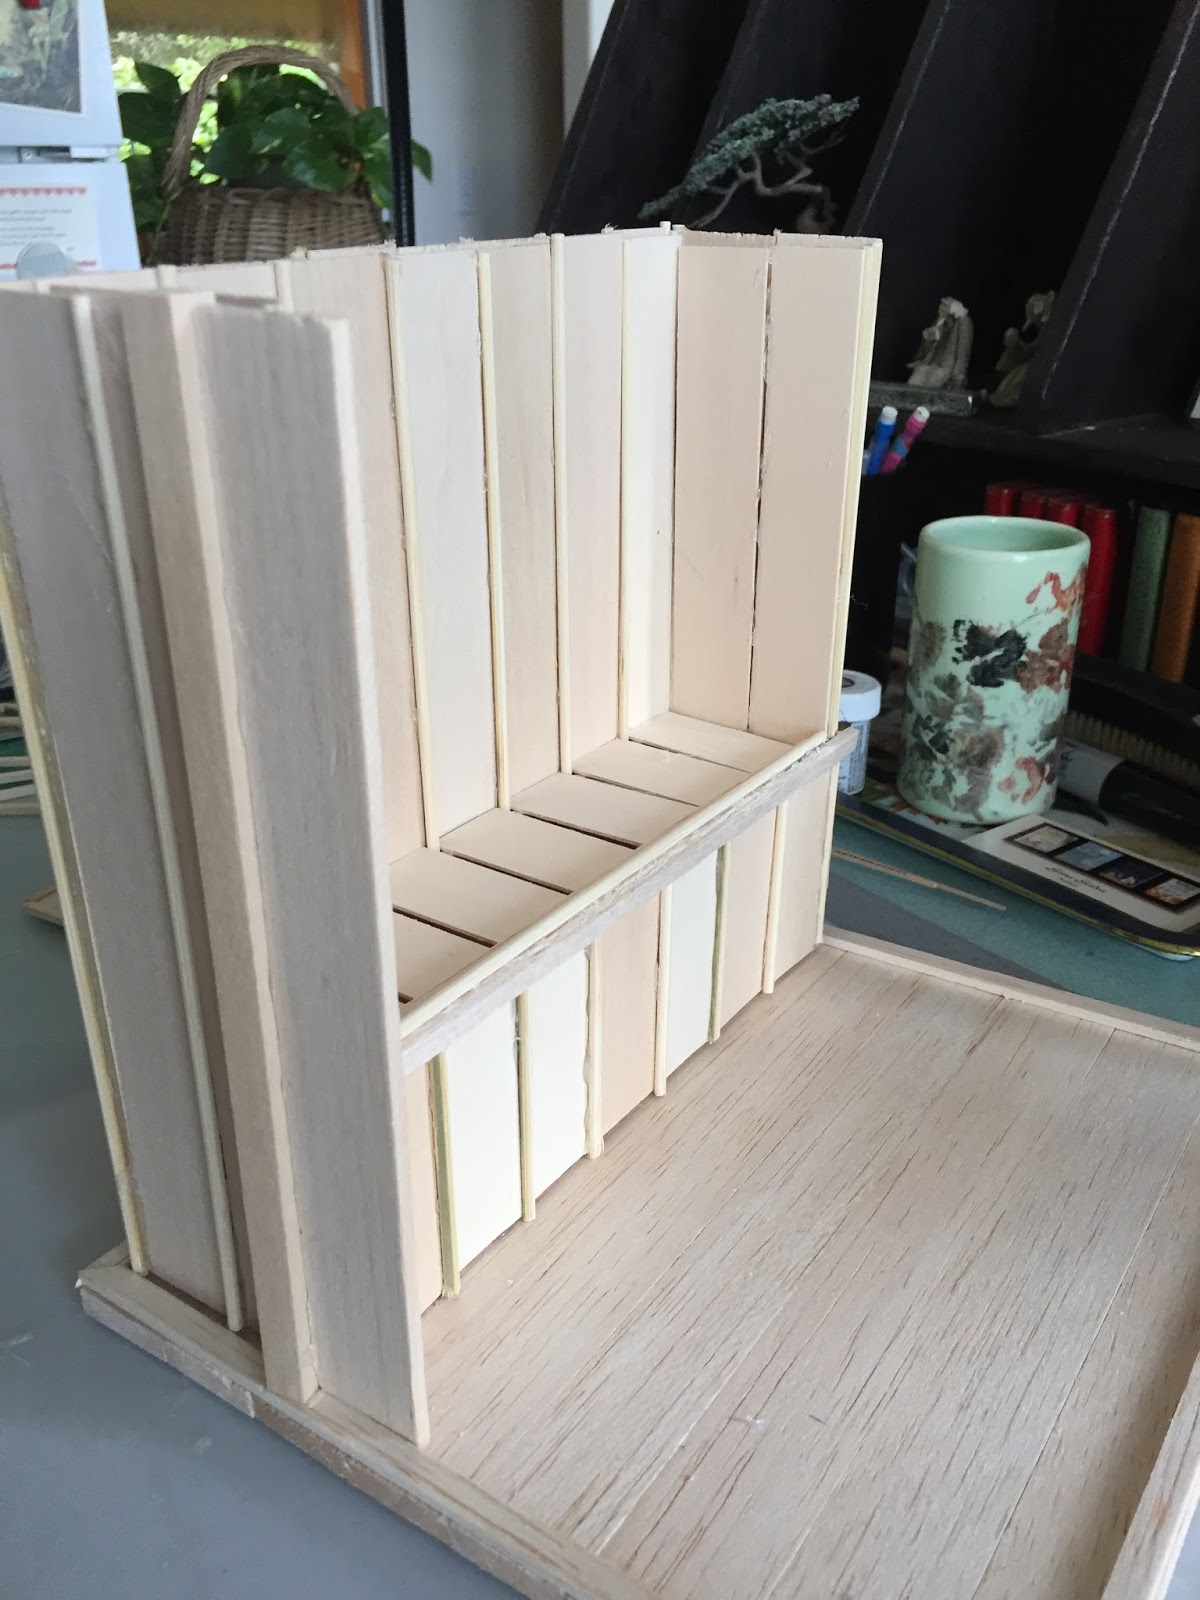
 In this first picture, I have just added the trim board that will hold up the altar shelf surface. I used craft sticks for the shelf and trimmed everything in skewers, which can be used as tiny dowels. It is a very simple design, very Zen, I think.

Meanwhile, I made a series of little terra cotta platters and bowls for both this shrine and the Shaman's Tipi. The platters will be painted in the style of each culture. Notice the tiny lantern on the right.

Next will be the six little shoji screen walls that create the room around the altar.

May 29, 2018

The First Shrine #2

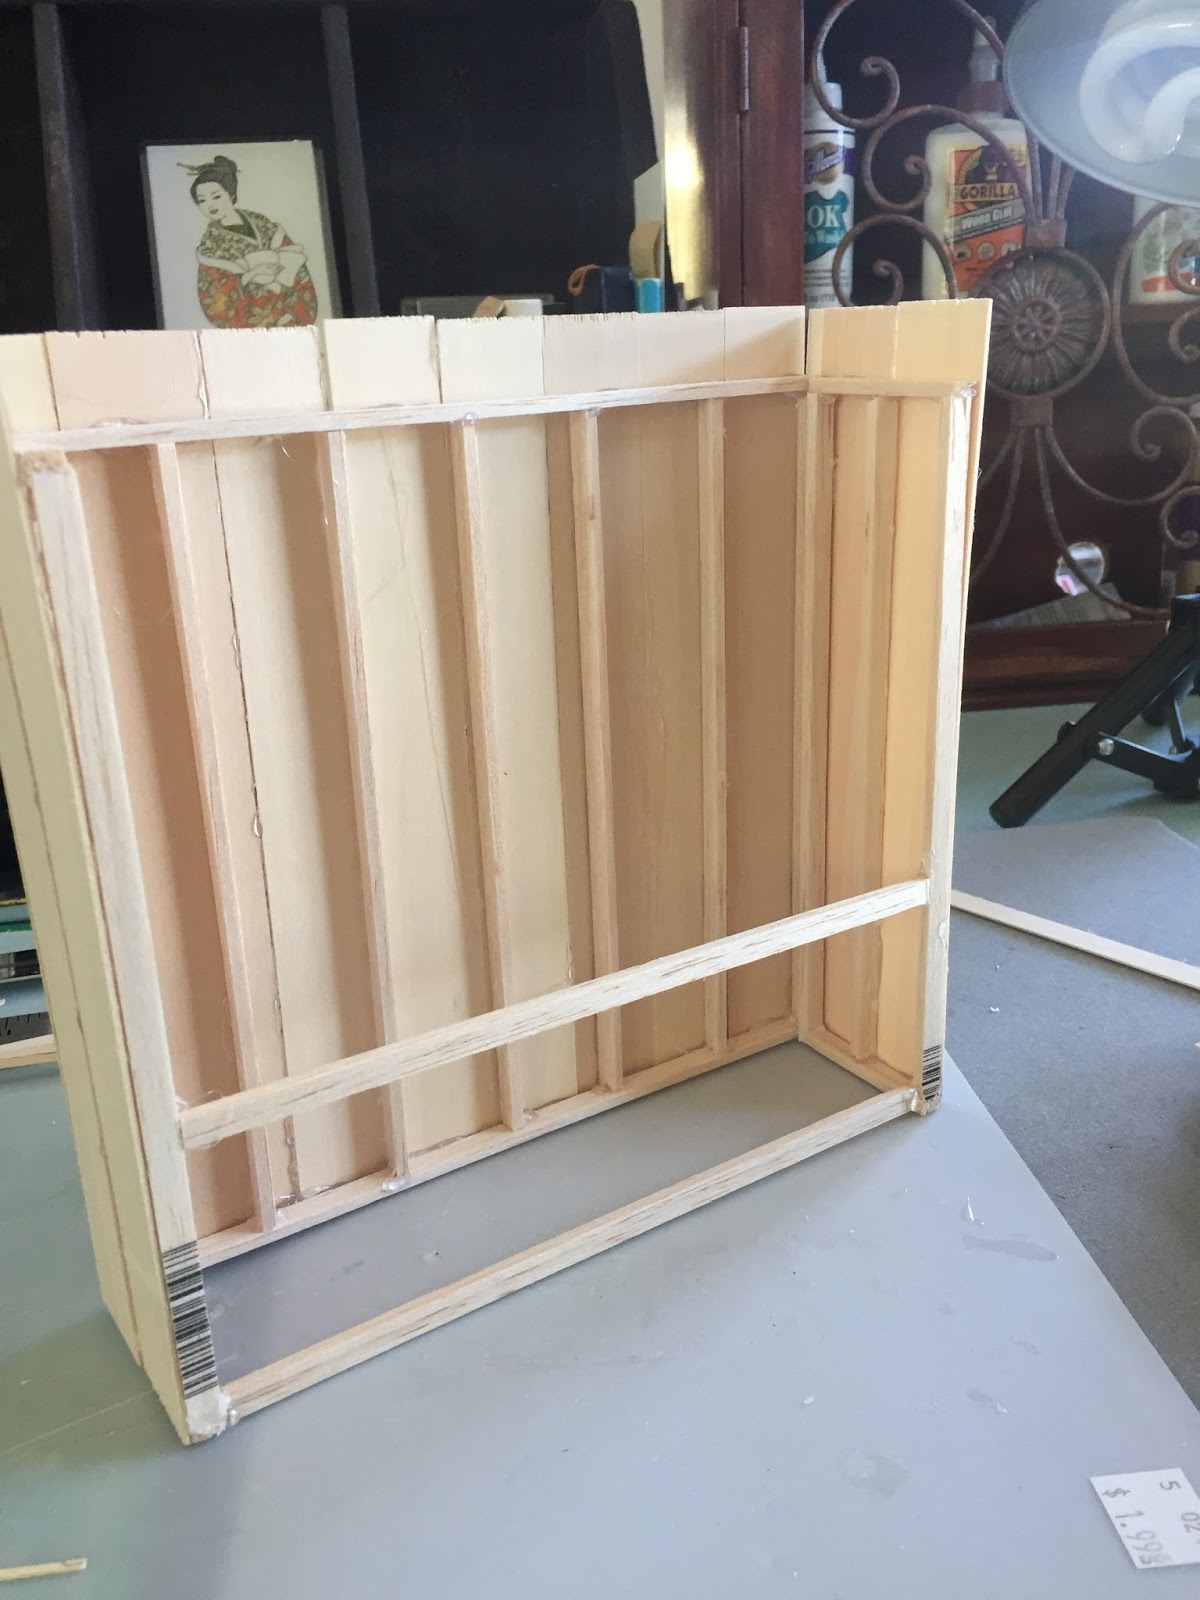
I am learning to think in layers of tiny lumber, like Basswood trimmed in skewers on the inside and outside of this shrine. The "studs" are Balsa wood, 1/16x1/4 inch.

When I first started the project, I slathered Elmer's glue on everything and waited for it to dry overnight before going on to the next step. Yawn.


I pondered why the videos and tutorials used Elmer's or wood glue and not hot glue which dries in a flash and reasoned that the hot glue was a bit uncontrollable for tiny gluing. But, this did not stop me.


I used my hot glue gun to put together this altar. What a difference. It went together in no time, is very sturdy, and allows me to keep going when I am on a tiny building roll and ready to finish the piece. It takes patience and finesse to keep from applying too much of a good thing but it is instant gratification.


May 25, 2018

The first shrine

When I started this tiny construction project, I thought I was building a tea house. That's all.

But, in my inimitable fashion, learning all about tiny construction while building tiny shrines has become a bit of a passion. My world of tiny construction opened up with a video of a contractor building a scale model of his home in 1/12 scale. The "Duh!" light bulb flashed above my head. Double wall construction.

After building a scale model box (see previous posts about Double Wall Construction) I was ready to begin my first piece. The first little tea house was built out of popcicle sticks and coffee stirrers. Also, I put it together with completely inadequate tools (Xacto knife, scissors) before the appearance of the tiny Xacto miter box and saw.

So, the project has evolved like this:

I found the fabrics in a stash, a year after my first thoughts about curtains in a miniature tea house (see previous posts about the Japanese Tea House). At that time, I was concentrating on the Faerie Project, which did not included a Japanese Faerie Tea House.

This time around, those fabrics jumped right into my hands and said, "Now!"

After exploring, and exactly following, the YouTube video about building a Japanese Tea House, I started to think about other tiny structures: shrines, temples, replicas of the tools and paraphernalia of the Divine. Which lead to the to the various divinities, temples, shrines and teaching which have influenced my life.

I chose three such influences to start the project. Why three, Ginna? Can't you just do one at a time?

Consider all that drying time.

The three choices: a Zen Shrine, a Shaman's Tipi and a Rose Window. You'll hear plenty about the Shaman's Tipi and the Rose Window later, but here first is a series of photos about building the altar for the Zen Shrine. I chose to do the Zen shrine first to continue to hone my skills in tiny double wall construction.  And, Zen Mind, Beginner's Mind, by Susuki Roshi of Tassajara Zen Center in Carmel Valley was one of the first spiritual books I ever read other than the Episcopal Book of Common Prayer. So, here is where I'll begin my series honoring higher consciousness and the divine.